

Who says that good reverb has to come from an algorithm? In the world of experimental sound design, grit, character, and physical resonance are often worth more than sterile perfection. Today, we are building a genuine mechanical reverb system using materials from the hardware store: the corrugated metal plate reverb.
This Device is Not a High-Fidelity Wonder
…but rather an experimental sound station. It delivers metallic, dense textures that are perfectly suited for industrial, ambient, or percussive experiments (like our condom samples).
Materials (Shopping List) for the €50 Plate Reverb
Wood & Metal:
- Wooden slats: approx. 3–4 pieces (Dimensions: 2 x 50 x 200 cm)
- Trapezoidal metal roofing sheet: 100 x 100 cm (aluminum or galvanized steel)
- Accessories: Wood screws, metal brackets, 4 tension springs with eyelets, 4 screw hooks (with wood thread), metal screws, and nuts.
Electronics & Audio:
- 1 surface transducer (Exciter): 20 to 30 watts (acting as the “transmitter”)
- 2 to 6 piezo pickups: (acting as the “receivers”)
- Connectors: Several jack sockets (mono), some wire/stranded wire, adhesive tape.
Tools:
- Cordless screwdriver, drill, soldering iron, pliers.
DIY Guide for the €50 Plate Reverb
Step 1: The Frame (The Skeleton)
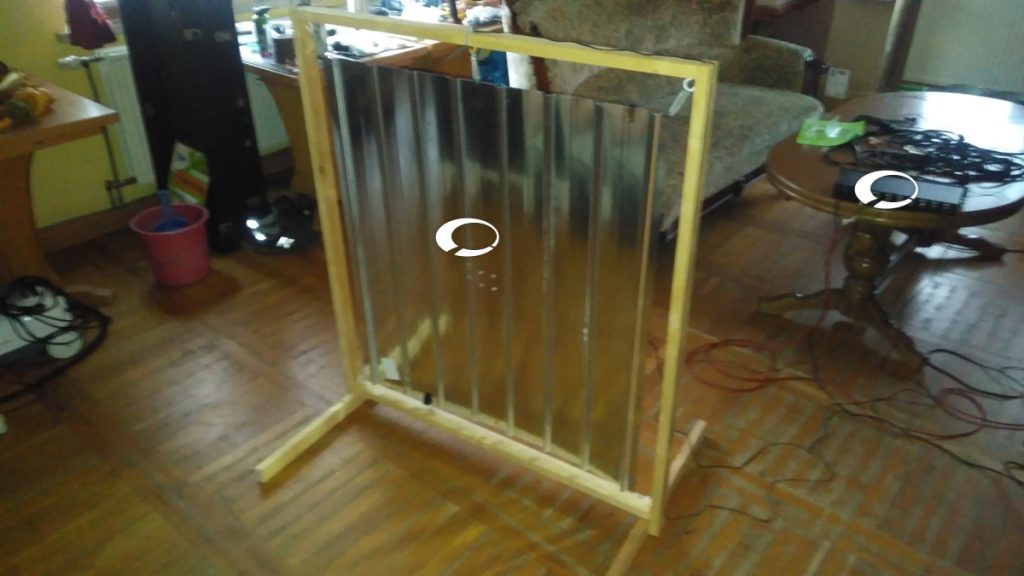
First, build a sturdy frame from the wooden slats with an inner dimension of 110 x 110 cm.
Screw the slats together using metal brackets.
Stability Trick: Screw short cross-pieces (feet) onto the underside of the frame. This keeps the frame stable and prevents the wood from warping easily.
Step 2: The Suspension (The Decoupling)
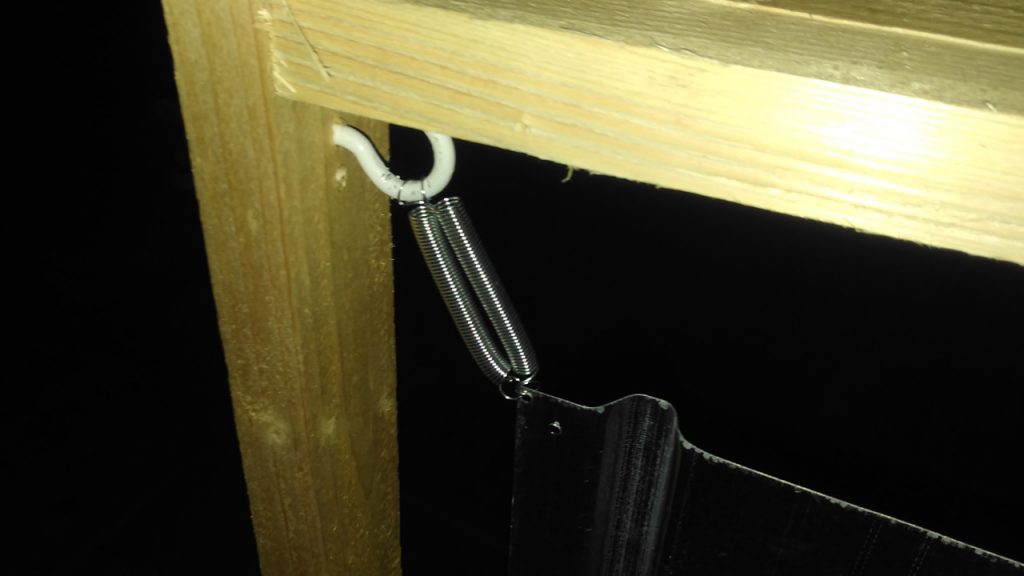
Screw the 4 screw eyes (hooks with wood thread) into the inside corners of the frame.
Drill a hole into each of the four corners of the corrugated/trapezoidal sheet metal.
Hang the sheet metal inside the frame using the tension springs.
Important: The metal sheet must swing freely and must not touch the wood anywhere. The springs ensure that impact noise from the floor is minimized and allow the metal sheet to develop its own resonance.
Step 3: The Driver (Input)
Drill a hole into the metal sheet (in the center, or slightly offset for different resonance modes).
Screw the surface transducer (tactile transducer) firmly onto the metal sheet.
This is your “Input.” The signal from the mixing console (Aux Send) is fed in here. Since the transducer requires power, it is recommended to place a small, inexpensive Class-D amplifier in between.
Step 4: The Pickups (Output)
Now the piezos come into play.
Attach the piezo elements to various spots on the metal sheet using tape.
Experiment here: It will sound different in the troughs of the corrugated sheet compared to the ridges.
Solder the piezos to the jack sockets, which you can mount on a small wooden board attached to the frame.
The Concept: Shaping Sound Through Density
The unique aspect of this setup is the use of multiple piezos. Because the corrugated sheet metal generates complex reflection patterns due to its shape, each piezo captures the reverb with a time delay and a distinct tonal character.
Pro Mixing Tricks:
Route the individual piezo signals back into your mixing console separately.
- Panning: Pan two piezos hard left/right to create a wide stereo image.
- Summing: Blend multiple piezos together to “thicken” the density of the reverb.
- EQ Ducking: Since corrugated metal is prone to metallic “clattering,” slightly cut the midrange frequencies on your EQ to simulate a deeper, darker space.
Don’t expect a Lexicon-style reverb. What you get instead is a unique, mechanical effect that is alive. It reacts to the dynamics of your music, physically vibrates in the room, and gives your productions an organic texture that no plugin can “easily” replicate. It is ideal for anyone looking for the beauty in imperfection.